Showing posts with label Punches-Circle. Show all posts

Tuesday, April 17, 2012

April 20 and 21 scrapbooking classes!!

Let me help you make more progress completing more of your scrapbooking this year...one page...and one layout at a time! We meet every month from 6:30pm to 9:30pm on either the 3rd, 4th, or 5th weekend. Join us this Friday night or Saturday night or even BOTH nights if you want or need extra time to create with us! Most layouts only take an hour or two to complete so you aren't required to stay the whole time, but I offer you "up to" 3 hours each night so those who want to can take their time socializing, snacking, shopping, getting extra individual instruction by request, and/or help finishing up any past layouts you might have missed.

This month we will create one 12x12 layout with traditional materials (paper, stamps, and embellishments!) for just $10 per layout. We will be using the NEW Lucy papers and each class kit will include the full set of 3 silver mesh and 6 glitter-filled flowers included in the
Bitty Buds Assortment Z1690 (a $4.95 value)!
12x12 right page (above)
Click on any of my images to see them larger!!


12x12 left page (above)

Full view of 12x12 layout (above)
The layout design is inspired by Magic - Spellbound (page 50)
As for the photo sizes, this is what I used on my pages:
LEFT page - (1) 4.5"wide x 4"tall, (1) 4w x 6t, (1) 3.5w x 5t, and (1) 4x4 square.
RIGHT page - (2) 3.5w x 5t and (1) 3.5w x 2.75t.
If you want to more closely follow the Magic "Spellbound" layout mine is inspired by you can use (3) 3x3 photos down the far left side of the left page, but since I didn't have smaller photos to use, I just made the two larger photos I had work. It is okay if your photos aren't cropped to the "exact" same sizes as mine, we can always find a way to make whatever size photos you have work for your pages! 
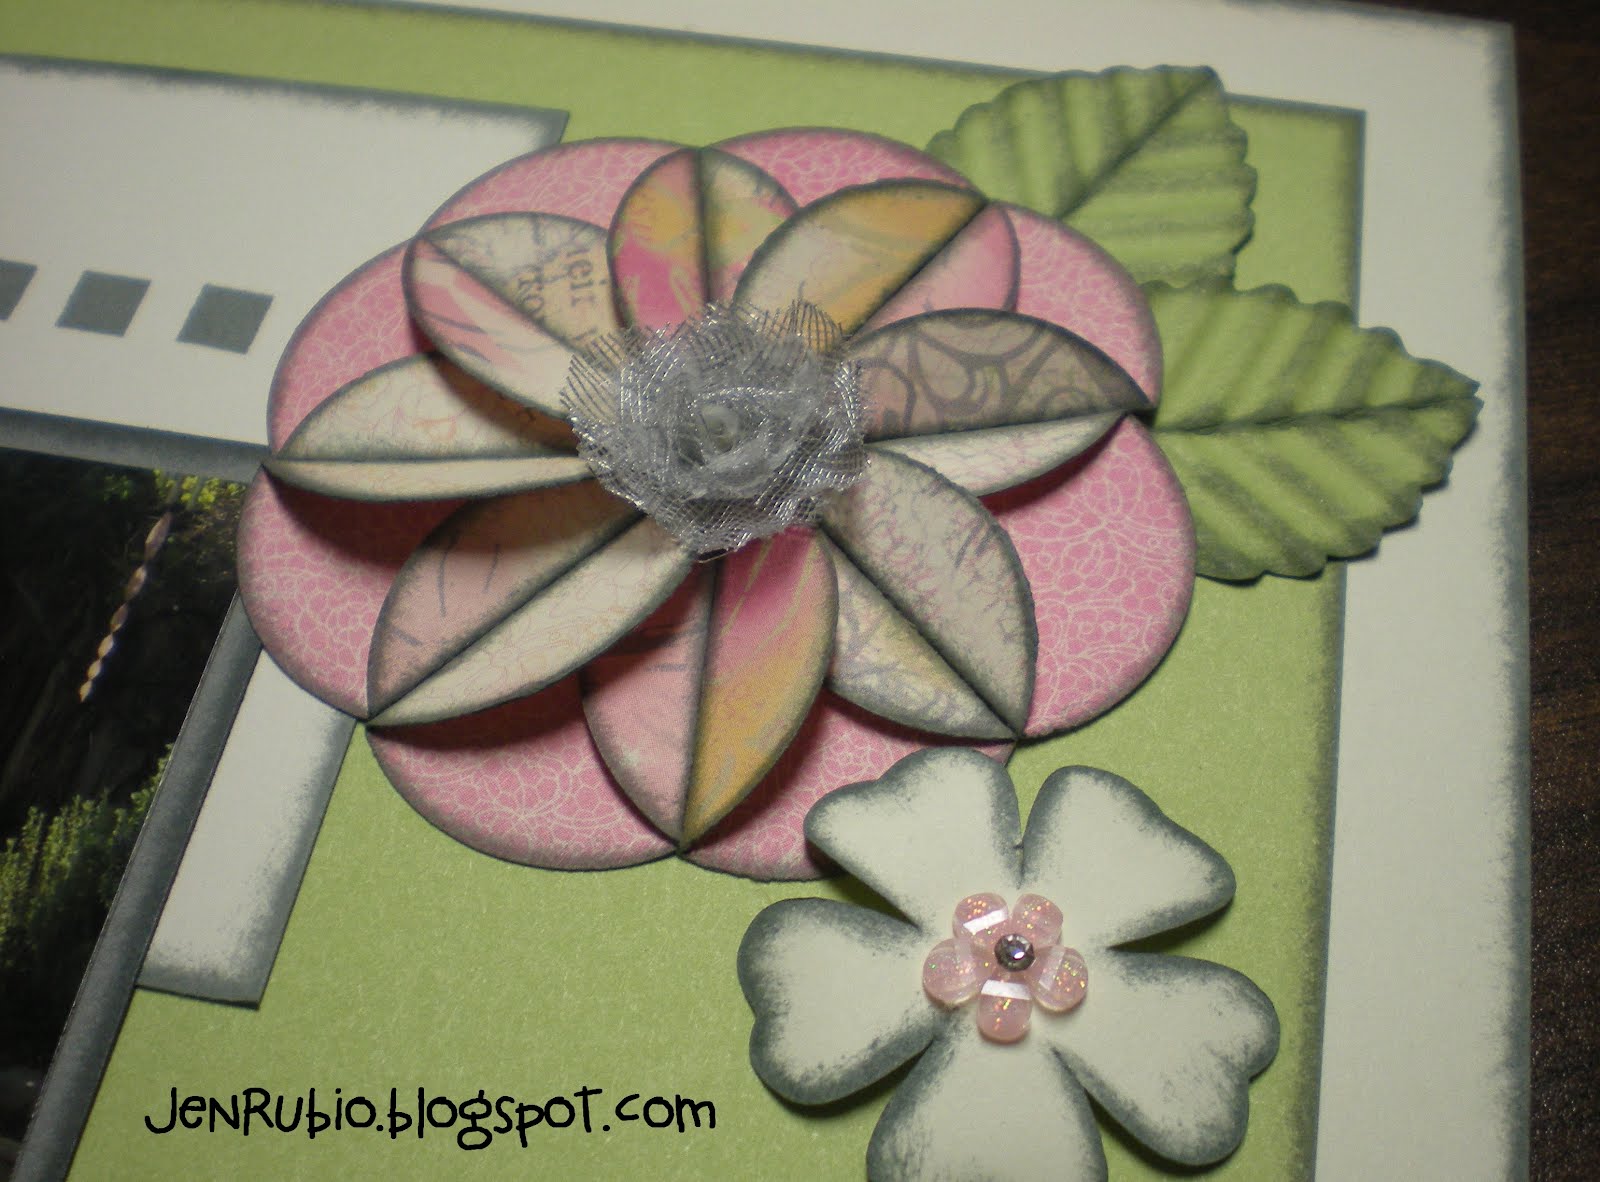
Here's a close-up view of the hand-folded pinwheel flower
and crimped paper leaves I will teach you how to make!
(it's much easier than it looks!!)

and finally...here's what the Bitty Buds Assortment looks like up close (so sparkle-y)!

I will have all of the papers for the layout pre-cut and ready for you to stamp, assemble, and embellish! All you will need to bring is your adhesive, photos, and favorite basic tools you like to use. Please PLAN AHEAD NOW by getting your prints printed or finding the photos you will want to bring to use (or you can also add the photos at home later if you prefer)! I will have kit supplies available for just 12 students, so please RSVP ASAP to guarantee your spot NOW before it fills up!!...and please let me know which night you prefer to join us (Friday and/or Saturday)
when you RSVP!

If you've had to miss any of my recent classes, I still have a few layout kits left-over from February and March. These kits are still available for you to purchase ($10 each) and I can show you how to create these pages on April 20th and/or 21st also if you're interested:
Victory 12x12 layout ($10) - 9 kits left!!
(click here to see more photos and details)

Stella 12x12 layout ($10) - 5 kits left!!
(click here to see more photos and details)

I also offer FREE training for using Studio J online scrapbooking on these nights also, so please feel free to bring your laptop computer if you'd like some Studio J help from me too!

Tuesday, May 31, 2011

Stamp with "Jubilation" in June!!

Welcome to our June Stamp of the Month blog hop featuring this month's new SOTM - Jubilation D1457! If you've just joined me from Beth's blog, then you are on the right path!
All of my artwork today also features the Mayberry paper pack X7136B (colors include Cocoa, Colonial White, Honey, Olive, and Smoothie). First, I'm sharing a 4.5" circle card inspired by Wishes - Side Note (p. 127). The Christmas tree image was done with the "paper-piecing" technique. To do this, I stamped the image with Olive ink on Olive cardstock (tone-on-tone stamping), then cut out around the outside edge of the tree with my micro-tipped scissors, then adhered the Olive tree to the center of the same image already stamped with Honey ink on Colonial White cardstock. The "holiday cheer" image is stamped with 1st and 2nd generation Cocoa ink. Another great tip for you: Our 1.25" circle punch Z1311 is the perfect size to punch out all of the images included in this stamp set - love that!!
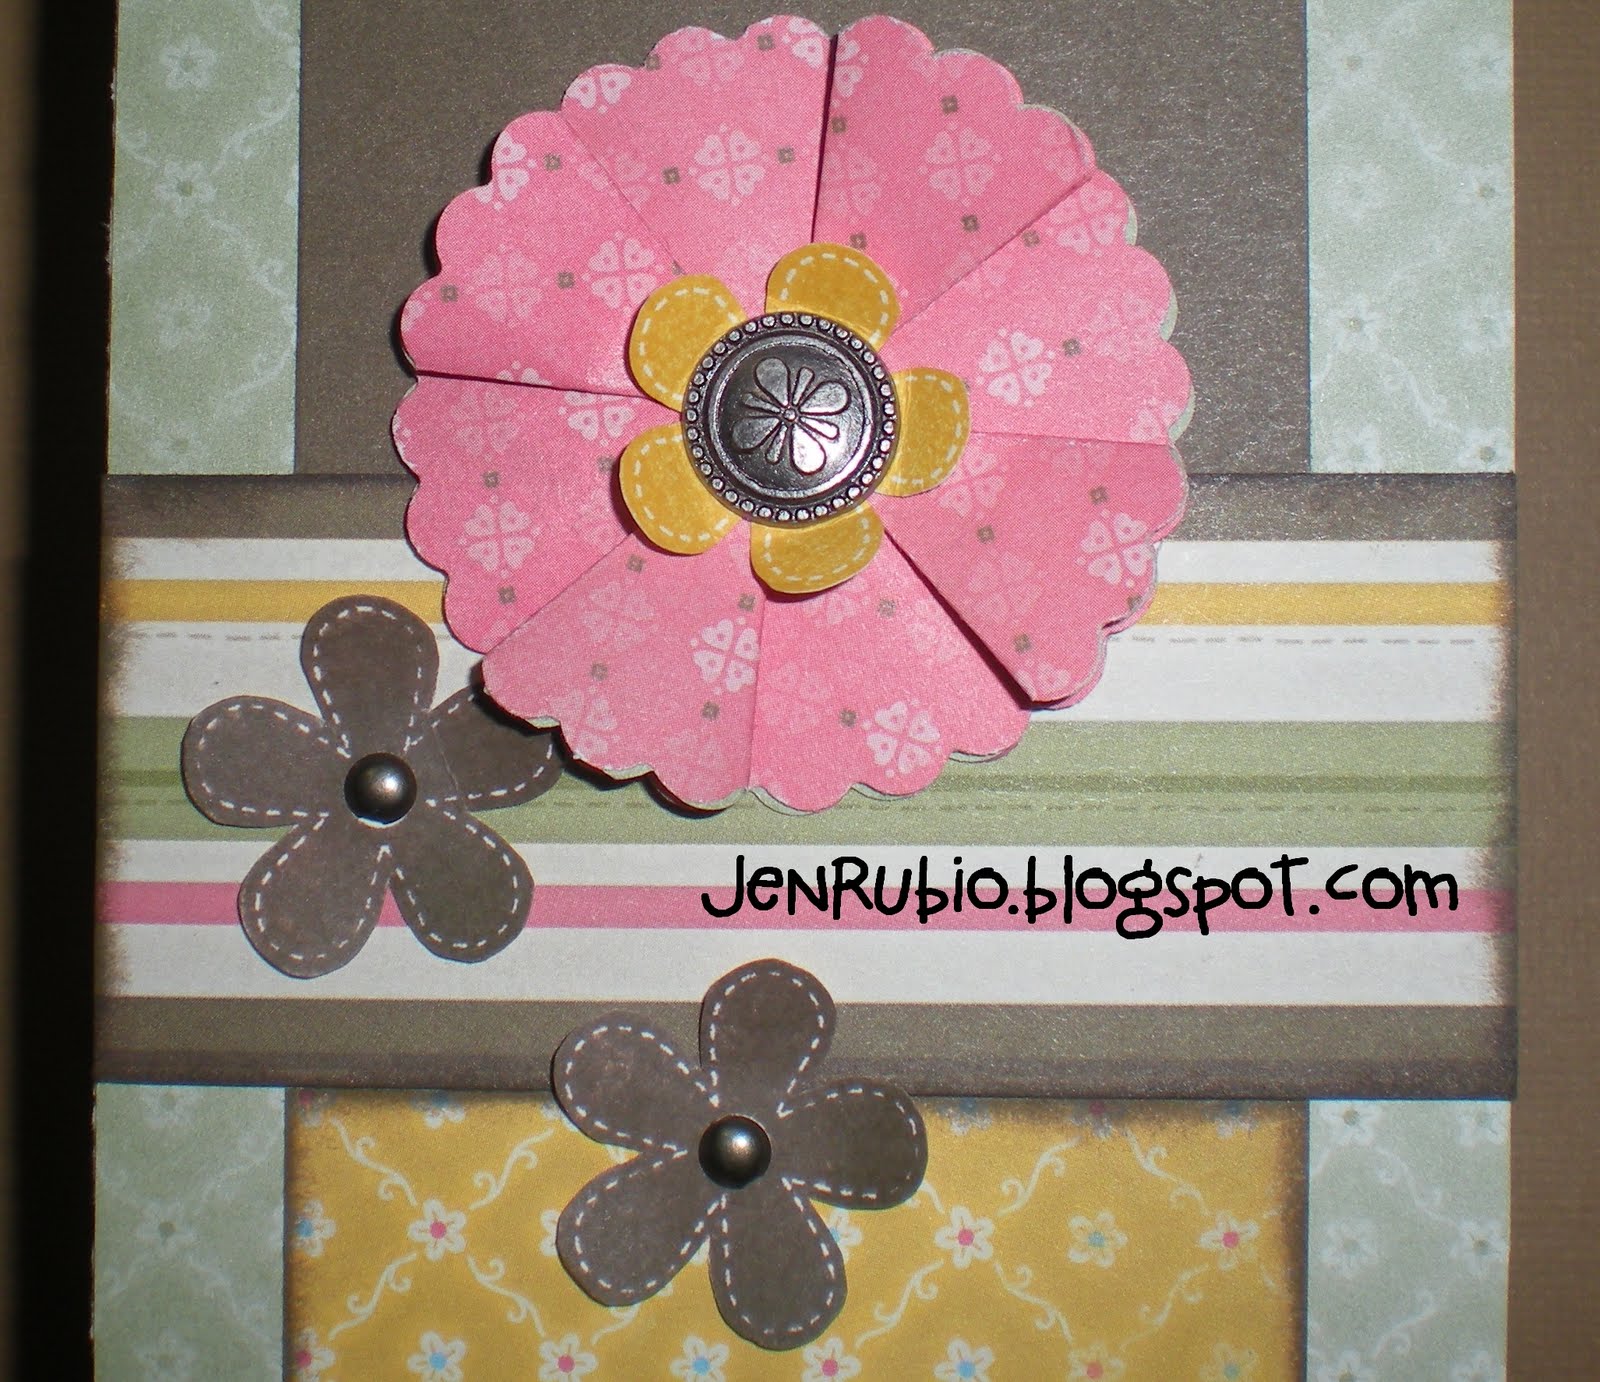
Next I have a 3.5"x8" card (above). My design is inspired by Originals - Bound Together (p. 33). I've stamped and cut out a few of the cute "daisy" flower images to embellish my card and notice that the "daisy" stamped with Honey ink and cut out makes a good center for the folded paper flower focal point. To create the largest petals of the flower I used the 2" scallop circle punch to punch out four circles of B&T paper that are then folded to create my dimensional petals. Here's a closer view of the flowers (below):
and finally, here is a view of all of the images included in this stamp set (below). There's such a big variety of holiday images and sentiments here that I can totally see myself using this wonderfully versatile stamp set over and over again throughout the year!!
Now you can continue on with the rest of the SOTM blog hop and see more creative ideas for using this stamp set by visiting Paige's blog next! Enjoy!!

Thursday, February 10, 2011

Valentine's Day Countdown - Day 10

Today I'm sharing another simple and sweet idea for Valentine's Day. This is an altered nugget tin. You can purchase these tins for just a little over a dollar each, online from specialtybottle.com (the tin's id code is THN8 in case that helps you find it). I simply wrapped 12 chocolate nuggets with strips of 1" x 3" background and texture paper from the Sophia kit X7131B and placed them inside the tin. I also created a little sleeve and tag (using a few punches including our NEW 2" scallop circle punch!) that slides over the tin to hold it closed and make for a nice presentation. These tins can be used to make such easy and affordable little gifts - and who doesn't just LOVE getting chocolate for Valentine's Day or ANY day of the year?!!!


Wednesday, October 20, 2010

Mistletoe Christmas Card Workshop - coming November 13th!

Now is the time to get started and/or finish making your Christmas cards to mail or give out this December! Let me show you how to create this festive holiday storage box with 10 Christmas cards (2 each of 5 designs) with envelopes featuring our beautiful Mistletoe papers!
You can CREATE IT ALL for just $25! You do also have the option to make just the CARDS ONLY for $15 OR make the BOX ONLY for $15! (each of the three different kits you might choose include a full pack of the Mistletoe Level 2 assortment of embellishments shown on page 91 of the Idea Book)! You also get your choice of paper envelopes for the cards (that you can stamp at the workshop!) or the clear envelopes that can also be mailed or used to hand your cards out in person, as well as a full-color Workshops-on-the-Go brochure that includes step-by-step instructions for the first three cards we're stamping (layout idea is also included as a bonus)!
The 4th purchasing option you have is to order the Mistletoe Workshop-on-the-Go kit (shown on page 25 of the Idea book) for just $29.95 + $6.95 for the box (plus tax and s/h) if you would also like to receive the kit-exclusive "All the Best" stamp set in addition to all the supplies needed to do this workshop with me!!

Please pre-order your workshop kits from me no later than Saturday 11/6 so I can order all of the supplies needed in plenty of time to arrive for our workshop. If you can't attend on the scheduled date (11/13), you do also have the option of making up this workshop with me during my free play dates coming up on 11/19 (6-10pm) and 11/20 (1-5pm).
The "My Creations" Recipe/Photo box will store all 10 of the hand-stamped cards (plus room for more) and could also be used to:
organize your 4x6 Christmas photos that are ready to scrapbook after the holidays!...
Or to store all the standard-size cards you receive from your friends this holiday season...
Or could be used to store your favorite holiday recipes...
Or could even be used to store all of the cards you start creating early for next year's holiday giving!
card 1 (below)
card 2 (below)
card 3 (below)
card 4 (below)
card 5 (below)

Monday, October 18, 2010

Snow Days with Mistletoe Layout!

This is the layout that I created last week to teach to 10-12 guests at a scrapbooking techniques class I'm teaching tonight in Las Vegas!! Yep, you read correctly, I'm driving all the way to Vegas tonight and I am so excited about this opportunity to catch up with an old friend and meet lots of new ones that already love to scrapbook! These scrapbook pages are inspired by the layout shown on page 23 of the current Autumn/Winter Idea Book. It uses a pattern from our brand NEW Magic how-to-program - Raise the Curtain (p. 67). One of the cool techniques I'll be showing everyone how to do is faux stitching (yes, it's hard to tell, but that stitching is fake!!) I used my scoring blade to dry emboss lines 1/4" in from each edge of the New England Ivy cardstock. Then I sanded the edges and lines lightly with sandpaper. Then I used my piercing tool kit (with foam mat) to pierce holes evenly spaced every 1/8th" along the white line (our exclusive white core cardstock is what allows this white line to show through so nicely when it is sanded)!
Remember, you can click on any of my photos to see them larger!!
(then use your back arrow to get back to this page)

Left side of the layout (above)
The little flowers are simply made with background and textured paper that I punched with a mini-flower punch that I have.
Two different stamping options (shown above) - some guests may want their scrapbook page to say "Snow Days" while others may prefer "Merry Christmas" so the pages could be used with either snow or holiday-related photos!
Here is a close-up of the journaling (above) so you can read what I've written with one of our black My Legacy writers. I used the Journaling Jots stamp set (B1269) to stamp the lines with cocoa ink.
Right side of the layout (above)
Close-up of the paper flower (and holly leaves) that I'll be teaching them to create (this is such a fun and easy paper-folding technique)! Love that easy stamped border too!
Close up of the stamping (colored in with Creme Brulee, Desert Sand, and New England Ivy markers) then cut out and adhered onto the page. I've also used sponge daubers to add some edge distressing with cocoa ink around many of the paper elements! I hope you like my pages and I sure hope my students are inspired by this tonight!
I can't wait for the fun to begin!

Sunday, August 29, 2010

Magnifique Layout and 2 more cards for our 9/4 product preview workshop!

Left side of the layout up close (below)
Right side of the layout up close (below)
Close up view of the flower (made with our 1.25" circle punch)
Standard size card with Magnifique papers
Standard size card with Olivia papers

Tuesday, June 22, 2010

Debbi's Paper Flower Tutorial!

I held a Cherry-O recipe/card box workshop on Saturday, June 12th, and since then I've had a lot of people who couldn't attend asking me how I made the paper flower that decorates the front of the box (Thanks for attending Debbie, Donna, and Karyn - we had so much fun - and I'm so glad to have had the opportunity to show you how to make these already)!!
So I finally got around to taking some photos to post a flower tutorial for everyone - yaay! Let me first say, that all credit for these flowers should go to my very talented 5th upline and Executive Director with CTMH, Debbi Fournier of LaVerne, California. She is the one who shared and taught us how to create these awesome flowers at a consultant team meeting I attended recently in May. First, you will need to punch out some B&T paper with a punch (or use a die-cut or your cricut) to make FOUR 2-inch scalloped circles (my photo above shows you a few of these punched out, so I could show you the step-by-step progression of how to fold each of these pieces, all in one photo). You will fold your punched circle in half, and then in half again so it looks like the one labeled step #3 above. Then you will fold it in half one more time (because it will be so thick by now, it is easiest to just fold one flap forward and one flap the other way). Use your bone folder to crease your folds well, then open it up all the way and cut it in half on the first folded crease-line you made (as shown in step #5).
Next you will re-fold each half of the punched and creased circle pieces accordian-style (some may call it a fan fold; one piece forward, one back, one forward, and so on). Because you have made 4 scalloped circles cut in half, you should end up with 8 fan-folded pieces. You will also want to punch a cardstock circle using our 1.25" circle punch to use as the base to add your flower petals to. Fold the circle in half twice to create creases and help you find the exact center of the flower (I have marked my center with an x to help you see it more easily).
Next, cover your base cardstock circle with Tombow (or any permanent tape-runner adhesive) and begin adding the folded flower petals. Make sure that the top flap of the fan-folded part opens up facing the same direction as you are adding them all the way around.
Then insert a brad or button in the center of your flower
(I used a colonial white designer brad on mine Z1274).
Finally, I sponged the petals with a sponge dauber and chocolate ink and added a self-adhesive red Sparkle to the center of the brad. You can crinkle and wrinkle up your petals if you want to or just fluff them up with your fingers if you want them to stand up a little more. I adhered the flower to my box with glue dots on top of some crimped hand-cut paper leaves that I sponge-distressed with chocolate ink also. Here is the final view of the recipe/photo/greeting card box I decorated with Debbi's beautiful flower (below):
I hope you will enjoy making some of these simple but "wowie" flowers as much as I do. Have fun getting creative with them!
Special THANKS goes out to Debbi Fournier for sharing her lovely flower with us!

Saturday, May 22, 2010

"Crescent Moon Paper Flower" tutorial!

Today was a good day (exhausting, but good). I got up early to drive out of town to attend a CTMH consultant team meeting most of the day at my 3rd upline Cindy Baker's house in Menifee (about a 2 hour drive for me). The "creative" theme for the day was learning how to make all the different kinds of paper flowers that are so popular right now! Several different consultants shared and taught us how to make different varieties of flowers. It was so fun and I learned a whole lot!! You can bet I'll be sharing more flower ideas with you in future blog postings, but I learned way too much to share it all at once. The 4x4 criss-card (shown above) is the little project that I provided and taught everyone how to make! The "crescent moon paper flower" I taught is created with our NEW 1.25" circle punch that I have enjoyed using so much recently! These flowers are much simpler to make than they appear (I'm all about faster, simpler, and easier lately!!) Please enjoy this photo tutorial on how to make them! Using Splendor B&T paper that is pre-cut to 2.75" x 4.25", punch out 6-1.25" circles. Because the backside of the Topiary leaf B&T paper I used is Goldrush, you can use both sides of the B&T paper and you will be able to use your scraps that you punch from each circle as the leaves (how economical of me, lol)!
Punch a "leaf shape" into each circle (I like to stack them and punch three circles at a time so it only takes me two separate punches). It also helps to insert your circle just far enough into the punch that none of it is visible sticking out on the outer-side of the punch. This will just help you in measuring and keeping each of your punched pieces approximately the same size.
Next you will use a sponge dauber with Chocolate ink to sponge the edges of all 6 of the crescent moon shapes and 3 of your leaf scraps. You will also want to punch another circle from Goldrush cardstock to use as the base for your flower.
Now use the handle of your piercing tool to wrap the cresent moon petals around and curl them to give them a little bit of shape. As you adhere the petals to your base, it is okay if they flatten a little, you can just plump them back up with your fingers again when your flower is finished. Cover your Goldrush cardstock circle with tombow adhesive and adhere two of your curled petals just as shown.
Next you will adhere two more petals going the opposite direction so that you will see a little square or rectangle of Goldrush cardstock peeking out in the middle.
Finally adhere your last two petals diagonally from the other four petals, covering the Goldrush cardstock that was peeking out in the middle. Now you can adhere your three leaves to the back side of the flower as well.

Now you can reward yourself with a pretty brad or button in the center of your flower. I used one of our new Z1317 Splendor Designer Brads (below). You can use any brad or button that you want, but I really LOVE how much fancier it looks with the designer brads!
If you enjoy making these paper flowers and have any success using them on your artwork, please feel free to let me know, as I would love to see what you've created!!