Showing posts with label Stamp of the Month. Show all posts

Thursday, October 1, 2020

*With All My Love* Stamp of the Month Blog Hop!

THANK YOU for stopping by to enjoy our
October Stamp of the Month Blog Hop
featuring this month's SOTM:
With All My Love S2010


If you've just arrived here from
then you are on the correct path.

Today I'm sharing the standard-size anniversary card
I made for my husband. I'm a tad early, lol. Jose and I will
be celebrating 26 years of married life on December 17th!
When I saw this stamp set, I immediately knew that it
would be perfect for making our anniversary card this year.
Back in 1994, we chose Red and Black for our wedding
colors, so I also chose to use (similar colors)...
using the NEW Comfort and Joy paper packet (X7261S)
with our NEW Wood Grain papers (X8017)
that I absolutely LOVE so so much!!

I also wanted to show you that you really can use
this Christmas-themed paper collection in a
NON-Christmas-y way!!

My stamping was done with Archival Black ink, and the
coloring done with (NEW Deep Blends) Yellow Green and
Vintage Blue TriBlend markers from Spectrum Noir.
I also used a clear Versamark ink pad with white embossing
powder to heat emboss "Happy Anniversary" on Scarlet
cardstock. Can you see how I also used fussy cutting and
paper-piecing technique to make my largest flowers
"pop" using the Scarlet red patterned paper? Finally,
I embellished with (also a NEW favorite!) White
Flower Sequins (Z3872) with small Black Dots
used for their centers (Z3314).


Now you can continue on with the blog hop
and be inspired by more creativity using this 
stamp set by visiting KATY's BLOG next!


Saturday, August 1, 2020

*Floral Celebration* Blog Hop!

THANK YOU for stopping by to enjoy our
August Stamp of the Month Blog Hop
featuring this month's SOTM:
Floral Celebration S2008


If you've just arrived here from
then you are on the correct path.

Today I'm sharing this standard-size card I created using
the NEW-for-July/August Mix-in Paper Packet (X9017)
that includes three of the colors shown here, New England Ivy, Smoothie, and Toffee. My stamping was done with Archival Black, Smoothie, and Toffee ink pads, then I colored the flowers with Citrus and Gold Brown TriBlend markers. Flowers and leaves are all fussy-cut. Embellished with Silver glitter gems, Silver shimmer trim, and Lemonade acrylic hearts from the 
Summer Vibes acrylic shapes collection.


Now you can continue on with the blog hop
to be inspired by more creativity using this 
stamp set by visiting KATY's BLOG next!
 

Monday, June 1, 2020

*Garden Tags* Stamp of the Month Blog Hop!

THANK YOU for stopping by to enjoy our
June Stamp of the Month Blog Hop
featuring this month's SOTM:
Garden Tags S2006


If you've just arrived here from
then you are on the correct path.

Today I'm sharing a standard-size card
I made using the SOTM, a little bit of our current MIX-IN's
paper (large sapphire dots), plus WISTERIA cardstock, ink
pad, and shimmer brush. I also used a little bit of Sapphire
cardstock that I cut out with our Tags & Tabs thin cuts
(Z3726) to mount my tag on and a 1" x 5.25" strip of Oasis
Holographic paper (Z3636). I also added some streaks
of color with our watercolor paints and lastly, embellished 
with gold glitter gems and white & gold ribbon.


Now you can continue on with the blog hop
to be inspired by more creativity using this 
stamp set by visiting MICHELLE's BLOG next!


Friday, May 1, 2020

*Time to Celebrate* Stamp of the Month Blog Hop!

THANK YOU for stopping by to enjoy our
May Stamp of the Month Blog Hop
featuring this month's SOTM:
Time to Celebrate S2005

If you've just arrived here from
then you are on the correct path.

Today I'm sharing THREE standard-size cards
I created using the SOTM and the NEW for
May/June "Stitched Together" Picture My Life cards!

I decided to keep my cards simple this time
to show off the beauty of these sentiments.
There's a sentiment that could fit just about any
upcoming occasion, so I'm betting this will quickly
 become one of my "most frequently used" sets.
Pretty much everything you see here that is Black
is an image from this set stamped with an Intense 
Black ink pad. I've embellished with Black & White
 Dots, which are some of my favorite frequently
used embellishments also.


 Card #1 - Cut 1/4" off of the top and 
1/2" off of the bottom of 4x6 PML card.
Trim 3x4 PML card with scissors.


Card #2 - Cut 3/4" off of the top of 4x6 PML card.
Fussy cut the butterfly out of the 4x6 PML card
with micro-tipped scissors. The Sapphire blue
elements I added to this card later as an "afterthought"
are scraps (backside of Sweetleaf plaid PML
that I used for card #3 shown below).

Card #3 - Cut 3/4" off of one side of 4x6 PML card.
Cut 1/2" off of the top and bottom of 3x4 PML card 
(use those small strips if you want to have a 2x4 scrap
to use later for something else OR don't cut and use 
the entire 3x4 card as a layer). Stamp sentiment on
small scrap of 1/2" by 3" white daisy cardstock
 and "banner-tail cut" the ends.


Now you can continue on with the blog hop
and be inspired by more creativity using this 
stamp set by visiting MISS CARRIE's BLOG next!

Sunday, March 1, 2020

*Family Legacy* Stamp of the Month Blog Hop!

THANK YOU for stopping by to enjoy our
March Stamp of the Month Blog Hop
featuring this month's SOTM:
Family Legacy S2003

If you've just arrived here from
then you are on the correct path.

Today I'm sharing a standard-size card I created
using the SOTM and the (NEW this month)
Yesterday & Today paper pack!!
I also added a little bit of Mint-colored cardstock
for an extra pop of color. Also featured on my card
is our NEW Classic Alphabet Thin Cuts, that I am
so thrilled with and just couldn't wait to use finally!


The images below will give you a clearer idea 
of how I stamped just part of the word "Love." 
First, I covered (adhered sticky side to stamp)
just part of my image (the letter L) with a yellow post-it 
note, then inked it up with an Espresso ink pad, and then
removed the post-it note before stamping on my project.


I hope that my card and this simple 
masking technique inspires you!
Now you can continue on with the blog hop
and be inspired by more creativity using this 
stamp set by visiting BECCA's BLOG next!

Saturday, February 1, 2020

*Cherishing Her* Stamp of the Month Blog Hop!

THANK YOU for stopping by to enjoy our
February Stamp of the Month Blog Hop
featuring this month's SOTM:
Cherishing Her S2002


If you've just arrived here from
then you are on the correct path.

Today I'm sharing a standard-size card I created
using the SOTM and the Julep "Mix-in" patterned
paper that can be seen using this link.


My featured technique today is:
Partial Scene Masking with Dies
You can easily find a variety of instructional videos
that show how to do this technique on YouTube,
just do a quick search for"partial scene masking."

Ink pad colors I used here include:
Intense Black, Ballerina, Pixie, and Raspberry.
The thin-cut I used was the largest frame from
our new Stitched Bracket Thin Cuts Z3631.
The mask was cut from an address sticker label
backing I had saved. The thin waxy paper holds
up nicely as you blend your ink inward from the 
edges and can then be re-used multiple times.

It required a little practice to get my ink to blend
perfectly, but I used three round make-up sponges 
(that's just what I happened to have on hand),
and it worked just fine. No special tools required!


I hope my card inspires you to try this beautiful technique!
Now you can continue on with the blog hop
and be inspired by more creativity using this 
stamp set by visiting Ramona's BLOG next!


Thursday, August 1, 2019

*From Me to You* Stamp of the Month Blog Hop!

THANK YOU for stopping by to enjoy our
August Stamp of the Month Blog Hop
featuring this month's SOTM:
From Me to You S1908


If you've just arrived here from
then you are on the correct path.

Today I'm sharing two standard-size cards I created
using the SOTM and paper from the CRAFT ON collection
(X7245B). The card on the right was inspired by UCLA's
school colors (blue & gold), as I will be giving it to my
daughter Isabelle, who will be attending UCLA this Fall.
Isabelle also has a birthday this month, so I hope she
doesn't mind getting the cute card on the left also, lol.


This stamp set includes such a great variety of
so many different frequently used sentiments,
that it was hard to choose just a few for these projects.
I hope you are inspired to give this stamp set a try!


Now you can continue on with the blog hop
and be inspired by more creativity using this 
stamp set by visiting KATY's BLOG next!


Tuesday, March 1, 2016

March SOTM (Sunshine Birdies) Blog Hop!

THANK YOU for stopping by to enjoy our
March Stamp of the Month Blog Hop
featuring this month's SOTM: 
Sunshine Birdies S1603


If you have just joined us you can start here and continue on (as this is a circular hop)
or you can start at the beginning with Melinda's Blog if you get lost at any point along the way. 
If you've just arrived here from JEANIE's BLOG then you are on the correct path.

 Today I'm sharing two standard-size cards featuring 
some of my favorite bright colors of Spring (above).

 This card features the La Vie En Rose paper packet (X7201B) stamped with a Black Memento ink pad (Z889) and watercolor paints on a 1x1 block (keep reading below to see how I did this)! The sentiment was stamped in Black and then traced with a ShinHan Touch Twin Marker (Marigold). After stamping the sun, I then traced/doodled around and alongside it with my black journaling pen (adding additional curved/scribbled lines).

 This card features the Kaleidoscope paper packet (X7202B) and Black Memento ink pad (Z889), colored with our ShinHan Touch Twin Markers (Clay, Golden Yellow, Lavender, and Leaf Green). The hearts that are stamped with Honey ink (and traced/doodled with my black journaling pen) is an image from the Stuck on You stamp set (C1643). Who can resist those fun googley eyes?! 
(adhered with mini glue dots).

Here is my inspiration for the 
watercoloring technique I used on my first card (above).
THANK YOU to my fellow consultant friend 
Tresa Black of www.FabulouslyArtsy.com
for sharing this incredible idea on Facebook recently:

  Lastly, here's a view of all of the images included in this fun and whimsical stamp set: 

Now you can continue on with the hop
and be inspired by more creative ideas
using this stamp set by visiting 
KIRSTEN's BLOG next!
Enjoy the hop!!

Wednesday, November 30, 2011

November Creative Class Cards!

I'm sorry I am so late at posting the $5 Creative Class cards we made together this past month. With the holidays approaching and all the things my family has been up to recently I've just been so overwhelmed by my "to do" list this month. Even though November is just about over now, I thought those of you who couldn't join us for class in November might still like to see the cards we made this month (I'll be back soon to share more details about them!) Enjoy!!


Tuesday, May 31, 2011

Stamp with "Jubilation" in June!!

Welcome to our June Stamp of the Month blog hop featuring this month's new SOTM - Jubilation D1457! If you've just joined me from Beth's blog, then you are on the right path!
All of my artwork today also features the Mayberry paper pack X7136B (colors include Cocoa, Colonial White, Honey, Olive, and Smoothie). First, I'm sharing a 4.5" circle card inspired by Wishes - Side Note (p. 127). The Christmas tree image was done with the "paper-piecing" technique. To do this, I stamped the image with Olive ink on Olive cardstock (tone-on-tone stamping), then cut out around the outside edge of the tree with my micro-tipped scissors, then adhered the Olive tree to the center of the same image already stamped with Honey ink on Colonial White cardstock. The "holiday cheer" image is stamped with 1st and 2nd generation Cocoa ink. Another great tip for you: Our 1.25" circle punch Z1311 is the perfect size to punch out all of the images included in this stamp set - love that!!
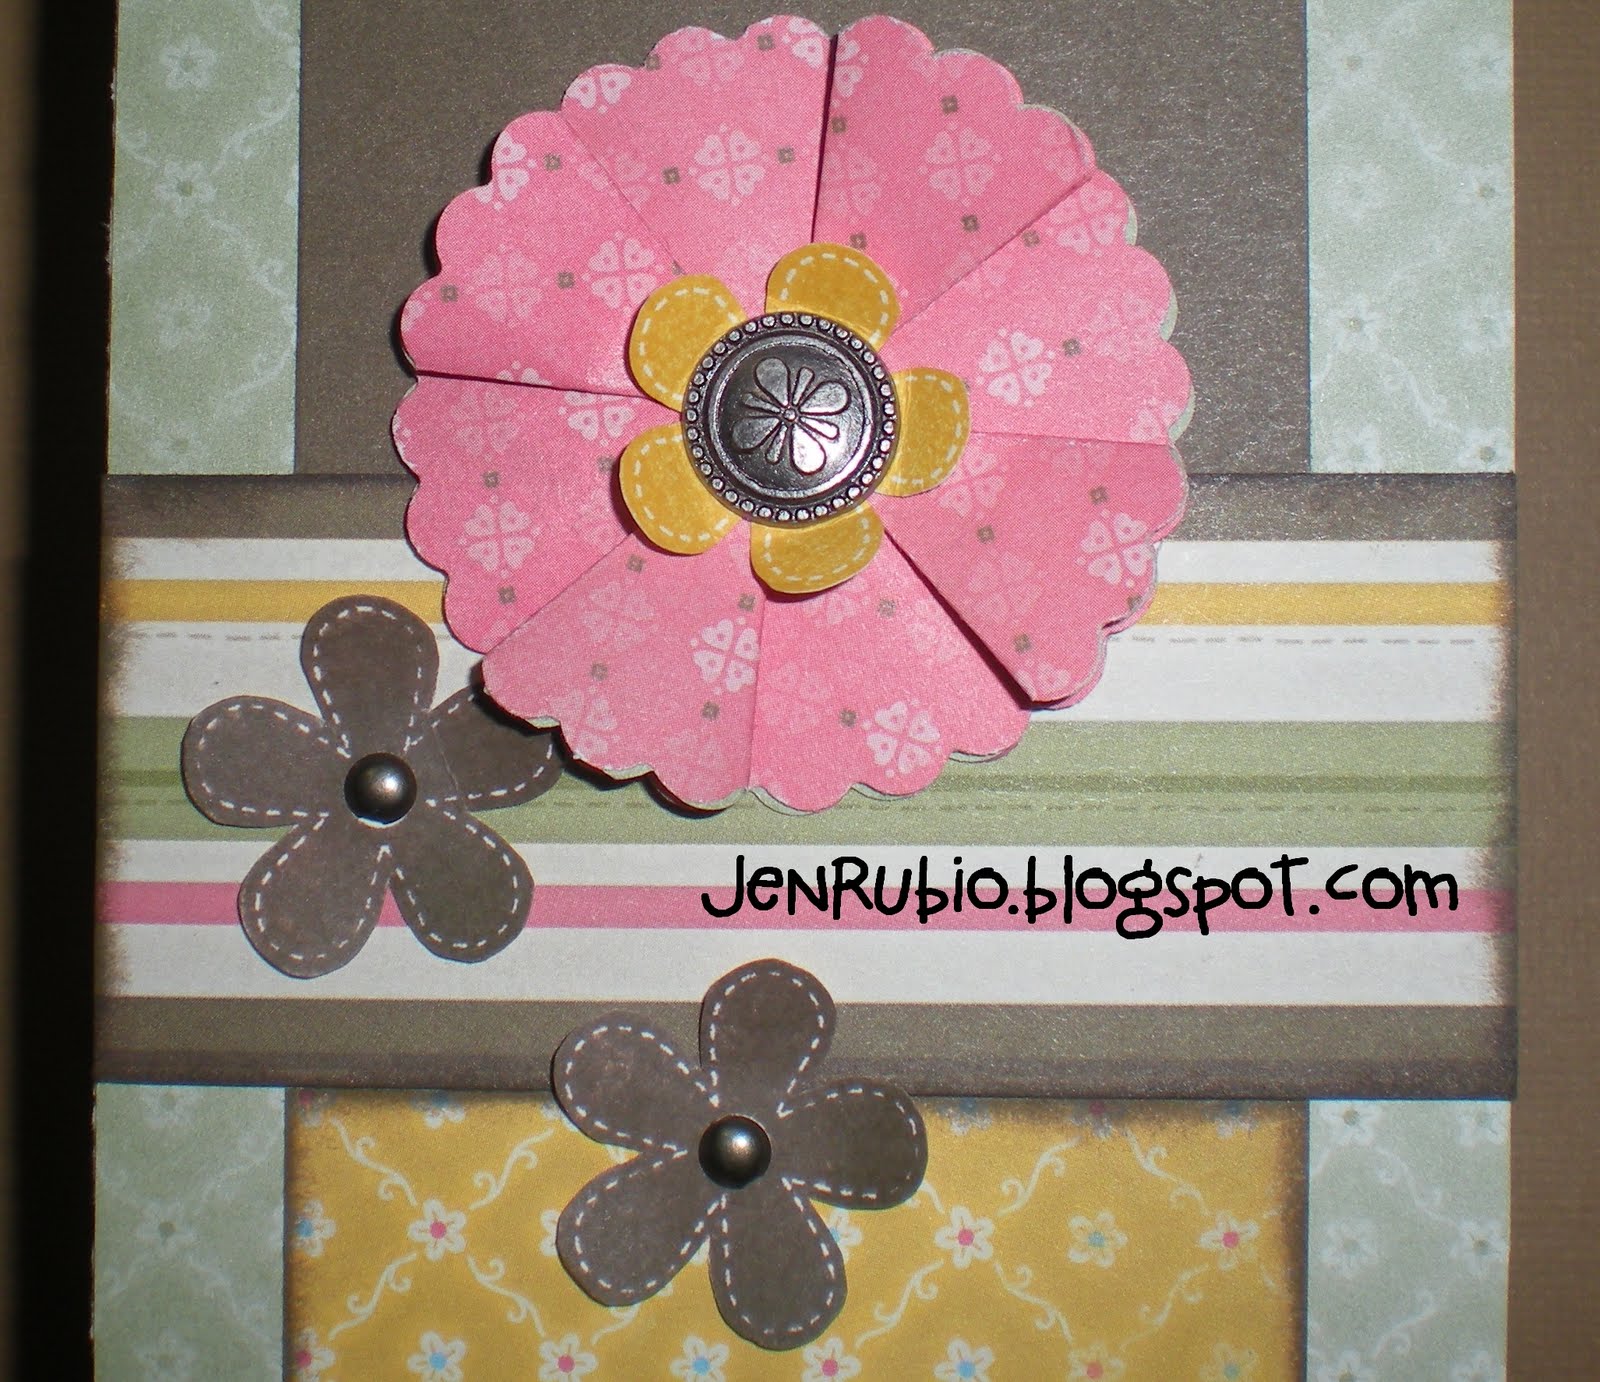
Next I have a 3.5"x8" card (above). My design is inspired by Originals - Bound Together (p. 33). I've stamped and cut out a few of the cute "daisy" flower images to embellish my card and notice that the "daisy" stamped with Honey ink and cut out makes a good center for the folded paper flower focal point. To create the largest petals of the flower I used the 2" scallop circle punch to punch out four circles of B&T paper that are then folded to create my dimensional petals. Here's a closer view of the flowers (below):
and finally, here is a view of all of the images included in this stamp set (below). There's such a big variety of holiday images and sentiments here that I can totally see myself using this wonderfully versatile stamp set over and over again throughout the year!!
Now you can continue on with the rest of the SOTM blog hop and see more creative ideas for using this stamp set by visiting Paige's blog next! Enjoy!!

Monday, February 28, 2011

Sensational Season SOTM blog hop!

Welcome to our March Stamp of the Month blog hop featuring this month's new SOTM - Sensational Season D1454! If you've just joined me from Dawn's blog then you are on the right path!
To create the 8x3.5" card above, I used Wishes - Top Band (p. 100) as inspiration for my design. I used background and texture papers from two different paper packs - Sophia X7131B and Bliss X7132B. My images are stamped with black ink (using just a little bit of the masking technique to make the bunny look like it is standing behind the lettuce in the garden). The flower is made by adhering cotton candy pom-pom ribbon from our new Pink Collection Designer Ribbon Z1384 into a spiral shape onto a cardstock circle base (punched out of cotton candy cardstock with our 1.25" circle punch). The leaf was made with our new 2" scallop circle punch and pear cardstock. All images (on cards above and below) are colored in with markers in the following colors: Bamboo, Blush, Creme Brulee, Desert Sand, and Pear. I also added a lot of sponge distressing with Desert Sand ink and sponge daubers. Remember, you can click on any of my photos to see the images larger and up close.
My 4.5" circle card design above is inspired by Wishes - Attention Getter (p. 46). I hope these creations have inspired you! Now you can continue on the SOTM blog hop and see many other creative ideas for using this stamp set by visiting Tamytha's blog next! Enjoy!!